Displaying a map view on the planboard
You can activate a map view on the Resource planner. The map functionality will support you to make an efficient and realistic planning per resource (i.e. tradespeople, engineers), by showing the geographical locations of their last known, current and / or future work assignments.
If you need to plan unexpected or high priority jobs, there is a crucial time element. Knowing where each resource is, will improve the accuracy of your planning and will help engineers to complete work assignments within the contractually agreed times. The map view is a visual aid for making a more feasible and efficient planning per resource. Depending on the selections you make on the planboard you will be able to find the most suitable person for a work assignment by checking:
• where resources are currently located, or their last known location
• where resources are located in relation to a job
• The toggle button for activating the map view on the planboard, must be made available on the Resource Planner TSI. See Resource Planner Configurations > Configuring a map view. This toggle button will only work on the planboard's Day view. • TA resource's / work assignment's location on the map is derived from the GPS coordinates of the property that is filled in on the related order. If no GPS coordinates are known for a location, that part of the planning is shown as a dashed line on the map.. |
Procedure
1. Go to Resource Planner and open a relevant configuration in Day view.
2. Assuming there is no work planned yet, select a work assignment on the Unplanned panel.
3. On the planboard toolbar, click the Activate map view button.
A red pin indicates the location of the unplanned work assignment on the map.
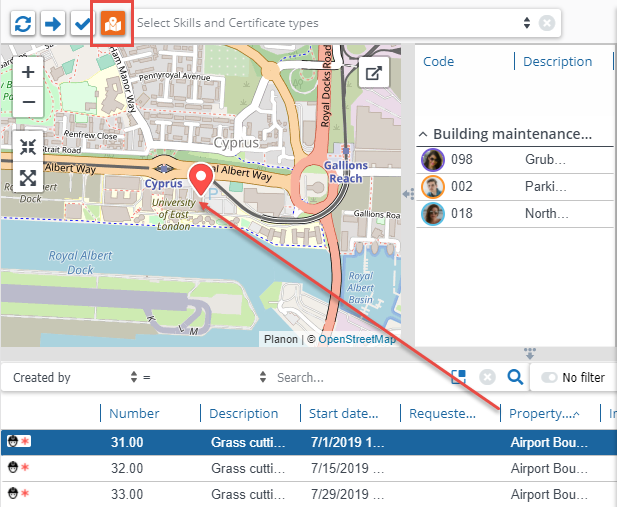
4. With the map view still activated, start planning by moving unplanned work to the planboard.
If work assignments / resources are linked to the same location, they are now grouped under a cluster marker indicating the total number of work assignments at this location. For a cluster, a total number is shown on the marker, specifying the current number of work assignments in that location/area. The style of the cluster marker depends on whether there are resources underneath the cluster: if the cluster marker contains at least one resource, it displays a blue background, when it does not contain a resource, it displays a white background. Resources that are hidden from the list are also hidden on the map.
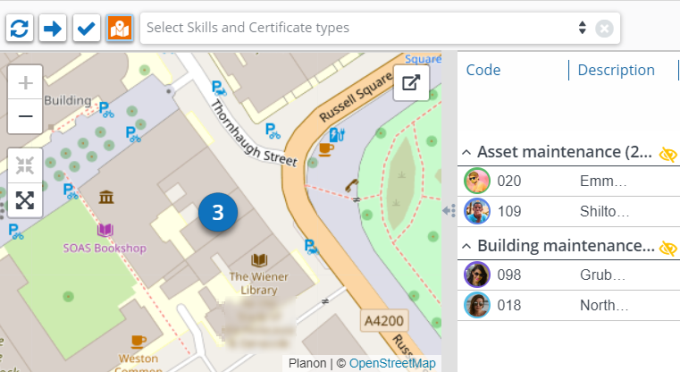
5. Click the cluster marker.
The cluster marker expands to show the individual resources and their work assignments. For each resource you now see a single pin with either a profile picture, or their initials if there is no profile picture. The pin is either based on their current location, last known location or upcoming/future location.
The status of the most recent work assignment determines whether this is a resource's last known, current or expected location. For example: if the most recent status is Work, the current location is shown. If the most recent status is Planned, Accepted, Assigned or Travel the expected location is shown. If a person's most recent work assignment status is Paused, Wait, Temporary fix, Stopped or Done, the last known location is shown. |
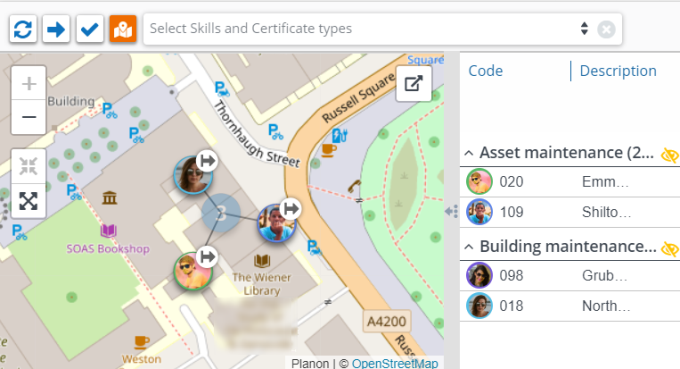
6. Click a pin of an individual resource to show their planned work assignments.
A pin with the total number of this resource's work assignments is displayed.
7. Click this pin again to hide the work.
8. Hover over the pins on the map to view the details of each work assignment.
9. If the locations are too far apart to be shown in the planboard's map view, click the Open in separate window icon to open the map in a separate, bigger window.
The 'undocked' map remains available for the duration of your Planon session, or until you close it manually.
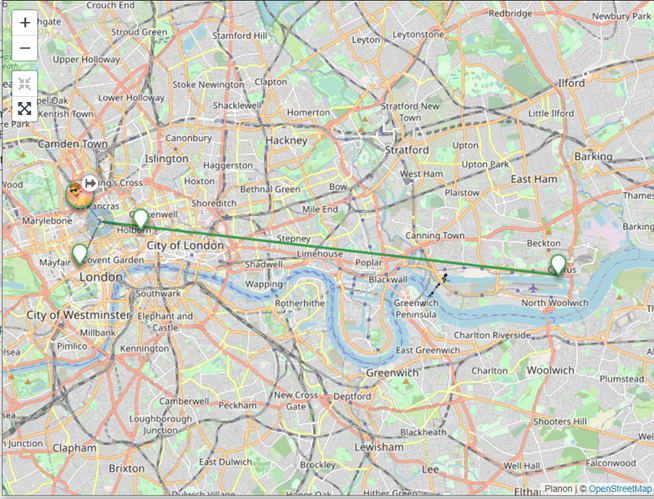
10. To show the full planning of a resource in either map view, select this person in the list and click the Show full planning symbol next to the name:
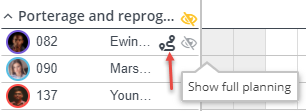
A full planning only displays work assignments with the following statuses: Planned, Accepted, Assigned, Travel, Paused and Wait. |
11. Use the actions provided on the map views to zoom in or zoom out, center of fit all, to get information to adjust your planning.
The map information will support you to make your planning more efficient and feasible for the respective engineers.