Configuring a Custom Report
To configure a custom report, define the report’s characteristics and filters. Report filters vary, depending on the type of custom report you select.
As an example, the following describes how to configure a Communication Report. The process for configuring other custom reports is the same.
Note that the Communication Report, the Reading History Report and the Usability Report do not display on screen and can only be downloaded as an Excel file. To configure a Communication custom report –
Procedure
1. Click the  option in the left pane.
 option in the left pane.
2. Click the Add  button at the bottom right of the window. The New Report window displays.
 button at the bottom right of the window. The New Report window displays.
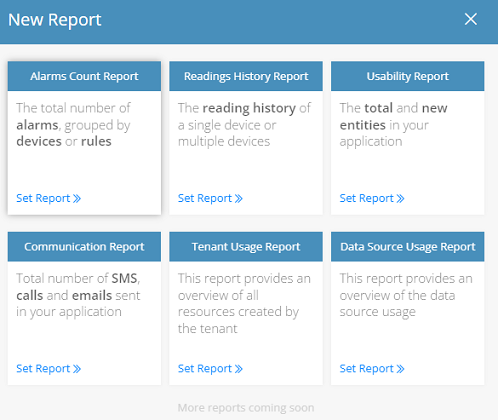
3. Click the Set Report option in the Communication Report.
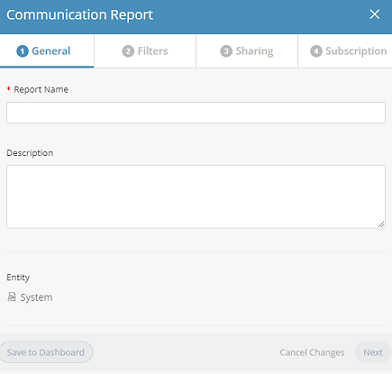
4. In the General tab, provide the following information for the report:
◦ Report Name – Specifies a free-text name for the report.
◦ Description – Provides a description of the report.
◦ Entity – Specifies the entity(ies) to be included in the report.
5. Click Next or click the Filters tab to define the filter(s) for the report. The following window displays.
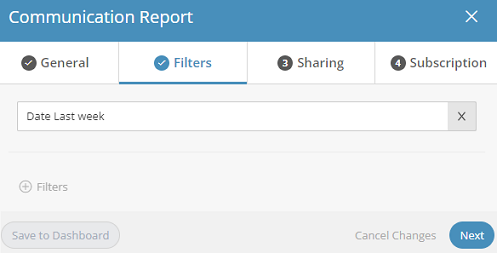
6. Click the  button to add a filter. The following window displays.
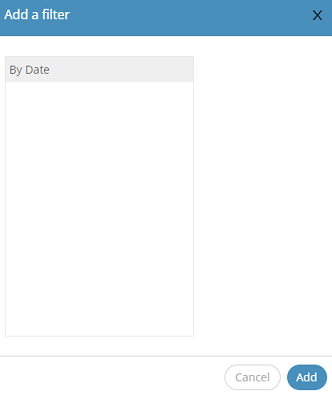
7. Specify the time frame by which to filter the report. You can select either Last Week or Last Month.
8. Click Next or click the Sharing tab to define report sharing for this report.
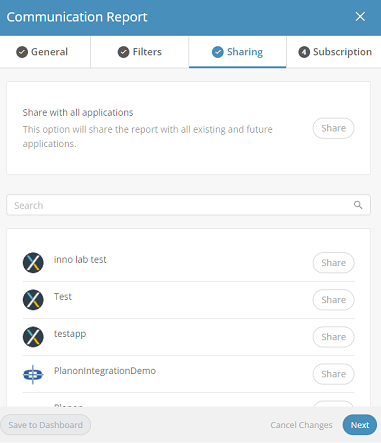
9. Define the Application(s) with which to share the report. Define the settings On this tab in the same way as for a standard report, as described in Managing Reports.
10. Click Next or click the Subscription tab to define the subscription settings for the report.
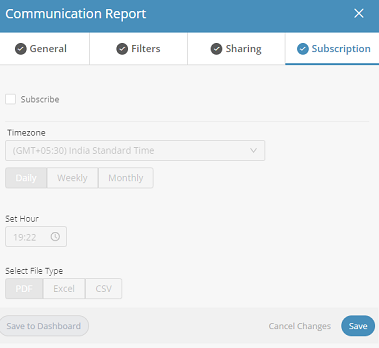
11. Define the subscription options for the report. Define the settings on this tab in the same way as for a standard report, as described in Managing Reports.