Managing Reports
The Reports option enables you to generate a report for which a Filter was defined.
Procedure
1. Click the Reports  option in the left pane to display a list of filters that were defined.
 option in the left pane to display a list of filters that were defined.
You can filter this list of filters using the Search Reports field.
In addition, the following categories of filters are provided –
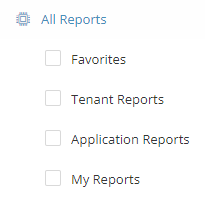
◦ Favorites – Lists filters that you marked as a favorite by clicking the Favorites option in the General tab described below.
◦ Tenant Reports – Lists the reports according to the Tenant user that created them.
◦ Application Reports – Lists the reports according to the application user that created them.
◦ My Reports – Lists filters that were created by the logged-in user.
2. Click one of the rows in the list to display a window containing the following tabs of options for generating a report.
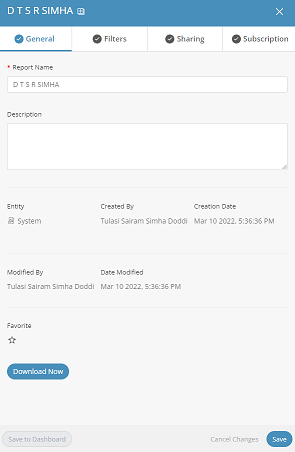
The General tab (default) displays general information about the report, such as its Name, Resource (entity, such as Events or Devices), Created By user, Creation Date (when the filter was defined), the user who last modified the report (Modified By) and the date when the report was last modified (Modified Date), the number of users subscribed to it, when a report was last run for this filter and the number of results contained in that last run.
3. Click the Download Now button to generate a report containing the latest data according to the selected filter.
4. Click Save to Dashboard to add a widget showing the latest data for this filter each time the dashboard is displayed.
◦ You can enter a description of this report.
◦ You can mark this report as a Favorite  .
.
 .
.If there is no dashboard defined yet, click Create Dashboard and Save as Widget. Your data will be displayed in a new dashboard.
If there already is a dashboard, select it from the list and click Save.
• The Modified By value is the same as the Created By value when the report is initially created. • The Modified Date is the same as the Creation Date when the report is initially created. • The Modified By and Modified Date change whenever the report is updated. |
5. The Filters tab shows the filters that were defined for this report and enables you to modify them.
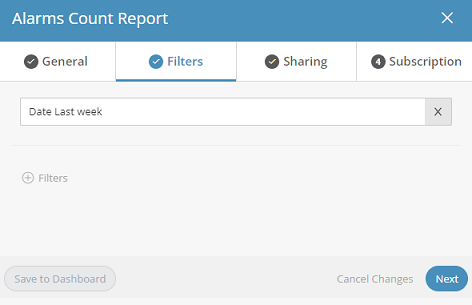
You can click a filter name to edit it, or the  button to add another filter or click the
  to remove a filter.
 to remove a filter.
6. The Sharing tab shows the people with whom this report is shared.
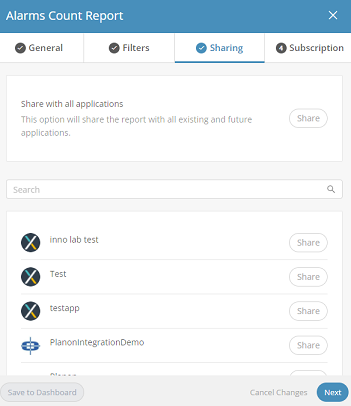
Users with whom you share a report that are on the same level (meaning that they are users of the same Application, Tenant or the same Sub-tenant) can also edit the definitions of this report:
◦ Only the user who created a report can edit that report.
◦ Application users can share with users of the same Application.
◦ Tenant users can share with all the users of all the Applications of that Tenant or with specific users of that Tenant.
◦ Sub-tenants can share with users of all the Applications of the same Sub-tenant.
Tenant users who want to share this report with all the users of a Tenant’s Applications should select to share with the Tenant itself (and not by selecting each of the Applications of the Tenant). By selecting to share with the Tenant itself, this report will also be shared with all the new Applications added to this Tenant or to its Sub-tenants. To share this report, from the Shared With drop-down menu, select the Application(s) to which the users belong. |
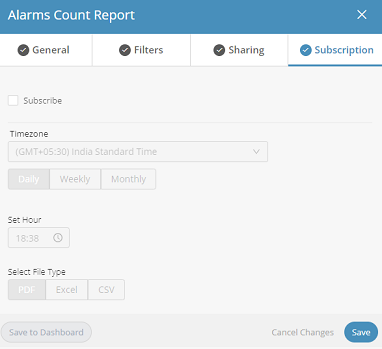
7. In the Subscription tab, mark the Subscribe check box to subscribe to receive periodic emails containing this report and define the frequency at which to receive them. Each user must subscribe to the reports they want to receive.
