Configuring Keycloak
The following Keycloak configuration is an example only. No rights can be derived. Screenshots and example may differ from your situation. If you need assistance in setting up your local specific configuration of keycloack, please contact your account manager. |
Take the following steps to configure Keycloak.
1. In the menu on the left panel, select Identity Providers (IdP).
2. Select SAML in the list to modify the preconfigured settings.
3. Modify the details in the data section, you can configure the settings here (the Redirect URI is automatically set for you):

4. The information for the fields under SAML Config need to be provided by the customer.
These are the details of the Identity Provider (IDP) on the Production environments (and recommended on Non-Production environments):
◦ Want Assertions Signed must be ON
◦ Validate Signature must be ON.
5. Click Save to add the configuration to the Identity Broker solution.
6. Click the Mappers tab. Click on attributetoplanon.
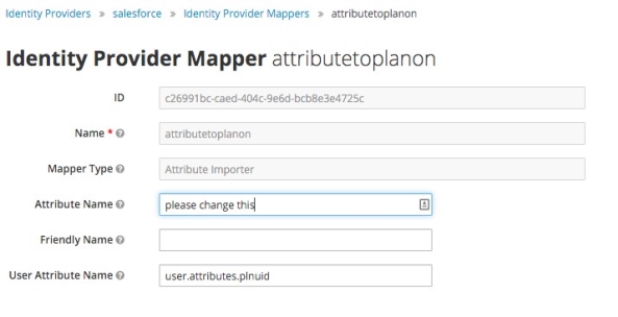
7. Modify the Attribute Name with the correct IDP SAML attribute.
This will also be provided by the customer.
Do not fill the field Friendly Name and do not modify the field User Attribute Name.
8. Click Save to activate the updated attribute mapper to the configuration.