Configuring the use of the floor plan in the Reservation wizard
Configuring using a floor plan includes some additional steps:
Procedure
1. Go to Self-Service modules > Reservations.
2. Select the Planboard spaces web definition.
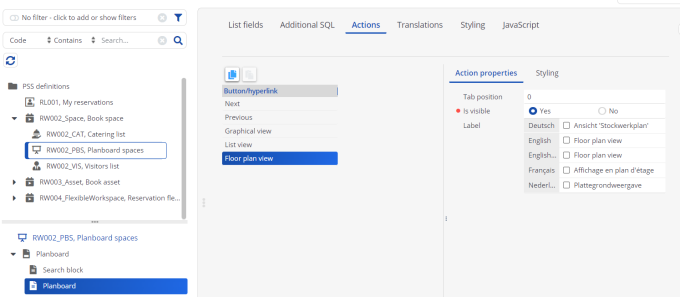
3. Select the Planboard block.
4. Go to the Actions tab.
Here you can make visibility settings (Is visible field,Yes / No) and determine the tab position of the views.
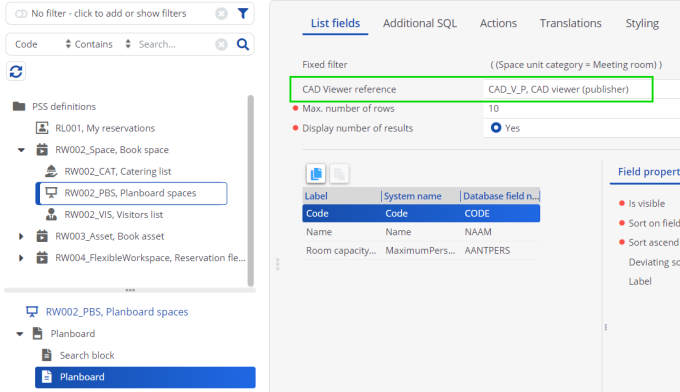
5. Go to the List fields tab and specify the CAD Viewer reference field.
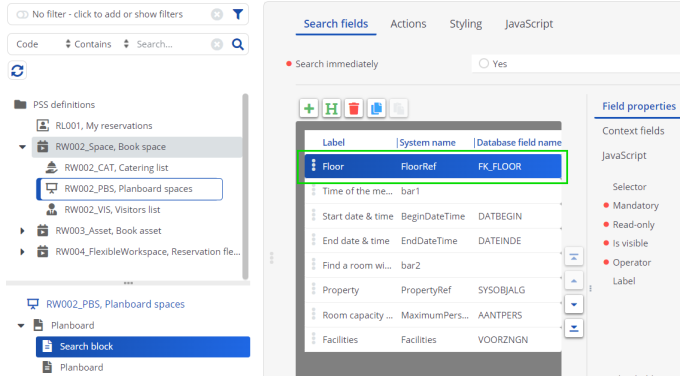
6. Select the Search block.
7. Make sure that the Floor field is available as search field.
8. Go to Self-Service modules > CAD viewer.
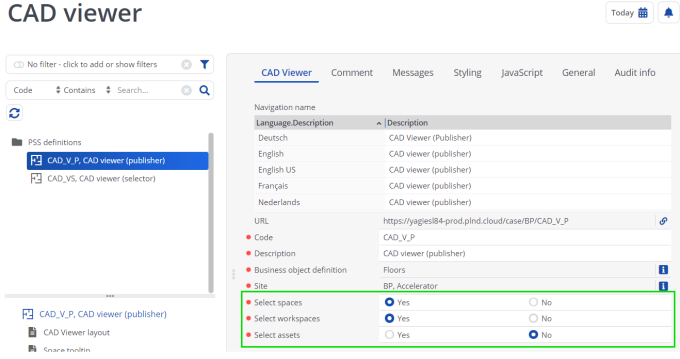
9. Specify which reservation unit types end users can select in the floor plan.
Select assets is not supported and this option should always be set to No. |
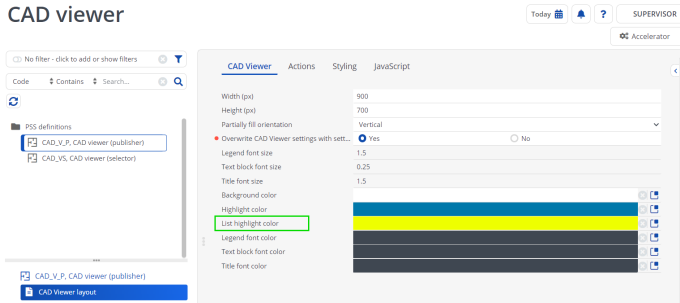
10. Select the CAD Viewer layout block and specify a color in the List highlight color field. This color is used to show available reservation units (spaces or workspaces) in the floor plan of the Reservation wizard.
