Specifying TSI Specific Webhelp
The current Planon WebHelp combines all TSI documentation in a single WebHelp.
To be able to display the WebHelp from the Planon ProCenter application, the WebHelp source needs to be deployed at a specific location and this location needs to be specified in System Settings > General. Typically this contains the WebHelp URL as in the above link.
For more information on deploying the WebHelp and configuring Planon ProCenter to display the WebHelp in a stand-alone fashion, refer to the Installation Guide > Configuring the Help center. |
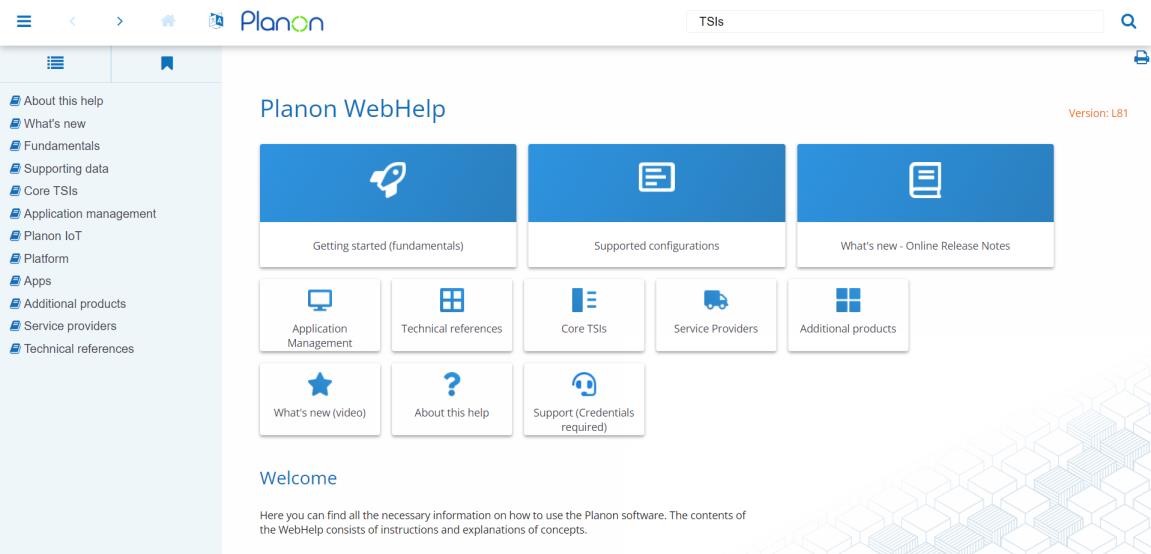
When opening the WebHelp, the complete folder structure appears as shown in this image.

The advantage is that customers will be able to view documentation on all available features by pressing ALT+F1 or by clicking the Help button in Planon ProCenter .
If a customer would like to directly view the documentation for a specific TSI only, some further configuration is required.
1. Open the Planon WebHelp.
Instead of configuring the Planon WebHelp here, you can also link a help system that you created and maintain yourself! |
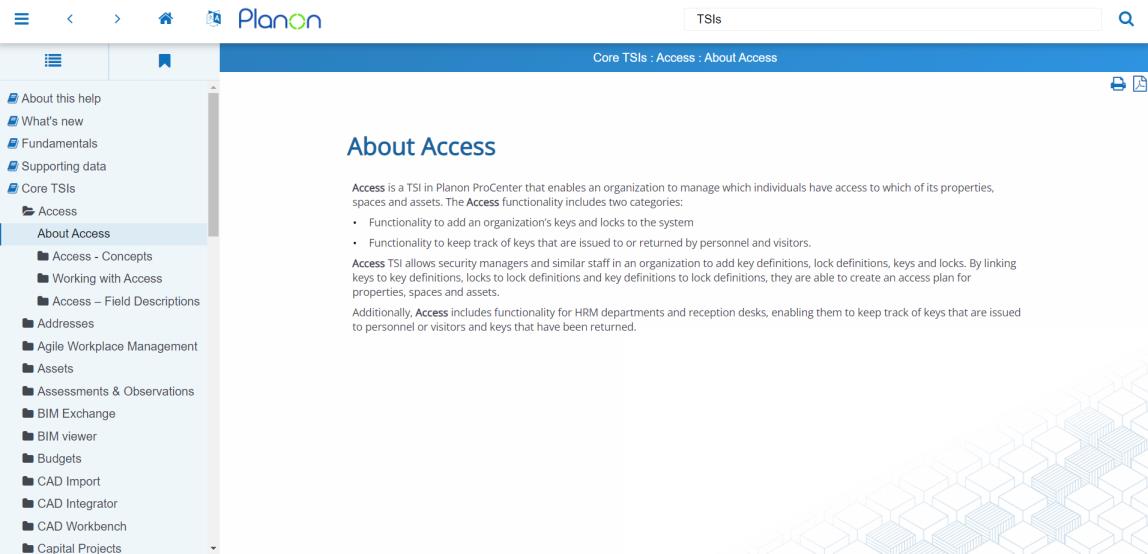
2. Select the TSI for which you want to create TSI Help. Expand the TSI folder until the first page appears in your browser.

3. Select and copy the Address (URL) displayed.
In this example, Access is being used.
4. Go to TSIs and select the appropriate TSI from the list and set the TSI to Under construction.
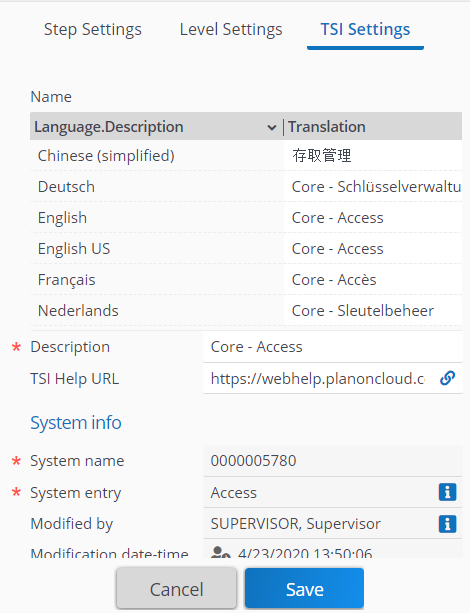
5. Go to TSI settings and paste this URL in the TSI Help URL field

6. Click Save to save your settings.
7. Set the TSI’s status back to Completed.
8. Log out and log in again to refresh.
Repeat this for all modules for which you want to create a module-specific Help.
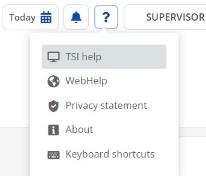
If you click the Help button, a menu appears. Here you can click TSI help, which will take you to the relevant page in the WebHelp.
