Defining a Filter
To create a filter
1. Click one of the options in the left pane, such as Devices.
2. Click the  option at the top left of the window. An Add filter window displays showing the options by which the entity can be filtered.
A different choice of properties is displayed according to the selected entity. For example, Devices can be filtered by Device Name, Product, Application and so on.
Selecting one of these options may display an additional window in which you can enter a value. Wildcards (*) can be used in filter values.

3. Click Add. Each filter is then displayed to the right of the  option. Two filters are shown here:

◦ To delete a filter, click the  shown above.
◦ To edit a filter, click the filter box shown above.
4. Organize the columns to be included and their order. The columns displayed when the filter is saved determine the order of the columns when the report is generated.
After you change the definition of a report and before you save it, the words Name-of-Report – Edited display at the top left of the window (as a reminder to save it).
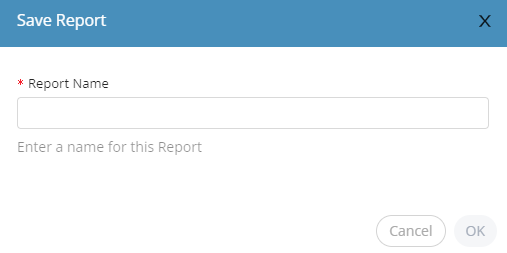
5. Click Save As to save this filter to be used for a report. The following dialog box displays:

6. Enter a name for the report and click OK. This report is listed in the Reports  option in the left pane.
 option in the left pane.