Adding / changing / confirming an asset on the Asset block
It might happen that an asset is either not filled in on the work order, or has been filled in incorrectly. In that case, you can add or change an asset. You can also get confirmation that you are working on the right asset or find its location in a BIM model. Additional actions for assets are available on the Asset details page. See 'Asset actions' on the Asset details page for more information.
Procedure
1. On the Summary page, select the Assets block.
If the asset you want to work on is not linked to the order yet, select the plus icon on the right.
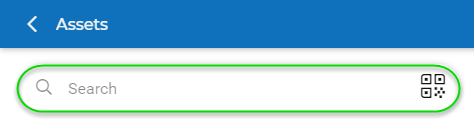
Select it from the list, or to enter it manually. If you cannot find it in the list, enter (part of a ) search term in the Search field and confirm with Enter.
Searching and selecting assets from the list is only possible if you are online. |
2. If the asset you are looking for is not listed, you can tap the scan QR code icon in the search bar to scan the asset code / tag.
3. You can also enter the asset code / asset tag by selecting the Enter manually button at the bottom of the screen. Fill in the asset code / asset tag and tap Submit.
On the > the latest asset information is displayed:

You are requested to refresh the Summary page to see the full asset information.
4. If you want to select another asset for this order, select Change asset and search for the relevant asset in the list or enter it manually.
The Change asset option is only available if the related order is not a planned maintenance (PPM) order. |
5. If you need confirmation that you are working on the correct asset, select the Confirm asset action at the top of you screen.
The Confirm asset option is available for both Orders and Maintenance activities.

Type or scan the asset code and tap the Check asset code button. A toast message shows whether the asset code matches or not.
6. If you want to view the asset in an associated BIM model, select View BIM model(s). See Viewing an asset's BIM model for more information on viewing a BIM model in the app.